by Team AllYourVideogames | Jun 16, 2022 | Instagram |
Filters are a great success on Instagram, as they provide several options to help users when publishing content, whether photos, videos or Instagram Stories. In this post, we will teach you how to make filter on instagram.
Before, this function could only be accessed by famous brands and content creators. However, now any user can develop their own filter for the social network.
How to make filter on Instagram
To learn how to filter on Instagram, you need to use the Spark AR Studios program, a tool available for computers. With it, you can create filters on Mac and Windows devices for free.
In addition to being able to create a filter from a new project, the program also provides several ready-made effects options to be used or for users to make small changes to them. You can also create augmented reality effects, for example.
Below, see how to filter on Instagram with the program and how to export your creations to the social network.
Learn More: Tattoo Filter: how to use it on Instagram?
How to make Instagram filter in Spark AR Studio
How to download Spark AR Studio
Before you start using the filter creation program, you first need to download it to your computer, see how to do this in the following step-by-step:
Step 1. Go to the Spark AR Studio website and click on the “Download” option, which will be in pink. The download will start automatically. Wait for it to finish to continue the installation process on your computer;

Step 2. Most likely, the program will be available in the “Downloads” folder on your computer. Go to it and click on the file that was downloaded;
Step 3. With this, a new window should open on your machine asking for the installation. Click on “Next” and then check that you agree with the terms of use and go to “Next” again in the next three windows that open;
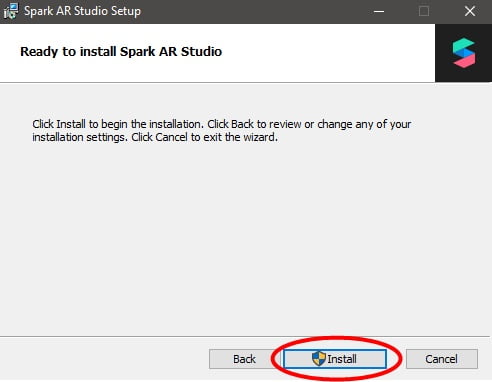
Step 4. To complete the installation of Spark AR Studio, click on “Install” and wait until the program is ready to use.
Learn More: Cover for Instagram stories: 13 sites to find the best
How to use Spark Air Studio
Now that you've downloaded the program, check out the step-by-step guide on how to filter on Instagram.
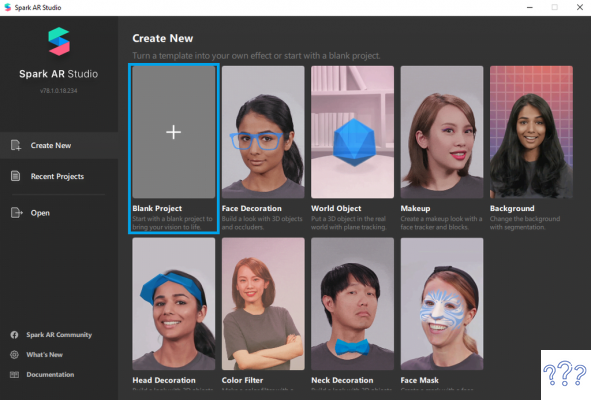
Step 1. With the program open on your computer, click on “Black Project” to start a creation process;
Step 2. In the upper left corner of the screen, in the “Scene” option and check if “Device” is selected;
Step 3. If selected, go to “Add Object” in the lower left corner of the program;
Step 4. In the window that will open, click on “Face Tracker” and then on the “Insert” option, located in the lower right corner in gray;
Step 5. Return to the same menu you clicked on “Device”, and go to Face Tracker again. Select “Add” to open more options and then click on “Plane”;
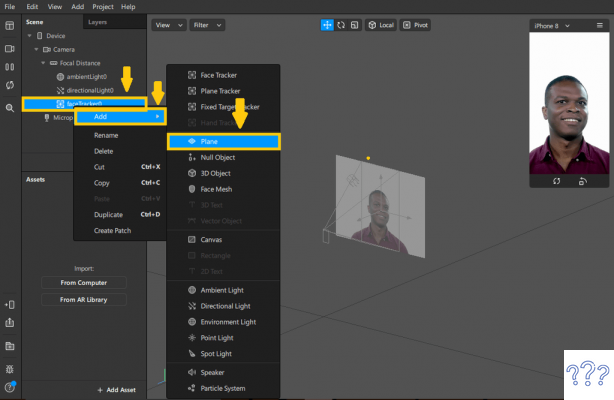
Image: Canal Tech
Learn More: Instagram Template: 19 editing options
Step 6. In the next step, go to “Add Asset” at the bottom right of the program and click on “Material”;
Step 7. Now that you will start to assemble the main parts of the filter, such as adding phrases, for example;
Again go to “Add Asset” and click on “Import From Computer”. You will be able to import into Spark AR Studios visual elements created by you in other editing programs, searched on the internet, etc. But they must be saved on your computer before importing. You can insert phrases, images and animated gifs, for example;
Step 8. On the left side of the program, go to “Material0” and then, on the upper right side, go to “Texture” and click on “Chosse File” and choose the phrase, image or gif that you had already inserted in the previous step;
Step 9. Also on the left side, click on the “Plane” option, and on the right side, go to “Material”, so that you can link to the element you selected earlier;

Image: Canal Tech
Step 10. If you want to change the position of the filter, just go to “Position” on the right side and change the numbers until you find the best possible position that you prefer. In “Scale”, it will be possible to increase or decrease the image. You can also rotate the filter, just go to “Rotation”, just below “Scale”. With that, your filter will be basically ready, just export it to Instagram and start using it.
Learn More: Is buying Instagram followers worth it?
How to filter on Instagram and export
Now that you know how to make a filter on Instagram, you also need to know how to export it to Instagram and make it available for use. This is what we are going to explain to you now:
Step 1. In Spark AR Studio, in the lower left corner, click on the arrow located to upload the filter;
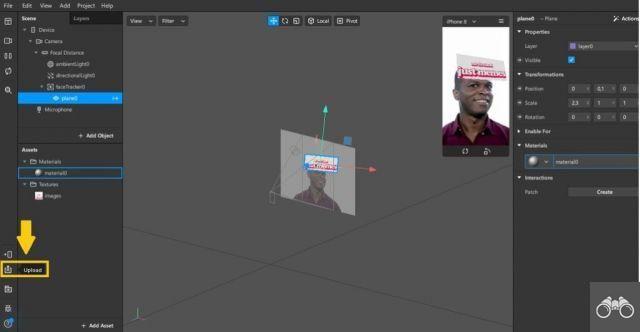
Image: Canal Tech
Step 2. A screen will open, wait until all the options turn green, indicating that the filter is ready, then click on “Upload”, which will be in blue, to confirm the export;
Step 3. The program will allow you to open the Spark AR Hub, page where the export will be done. This step is necessary to be able to send the filter to Instagram;
Step 4. Scroll all the way to the end. You will be able to choose where the filter will be exported, that is, you can send it to various social networks, such as Facebook. Select the “Instagram” option.
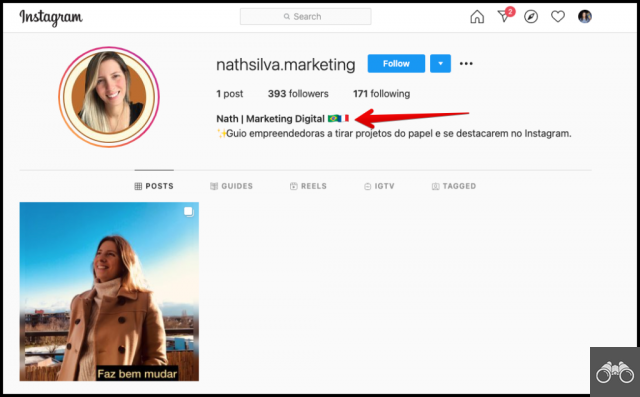
Step 5. The next step is to choose a name for the filter and place it on the Spark AR Hub page. There will also be an option of brands. So if the filter is a brand promotion, select the option of “Yes, this effect or account promotes a brand or product”, before informing the name;
Step 6. After the name, you will need to define a cover for the filter. When you choose, save the file via Spark AR. For this, you will need to keep in mind that the cover cannot have other people's faces, phrases and words that are the same as the filter title;
Step 7. After defining the cover, accept the legal agreement and click on the option of “Upload and continue”;
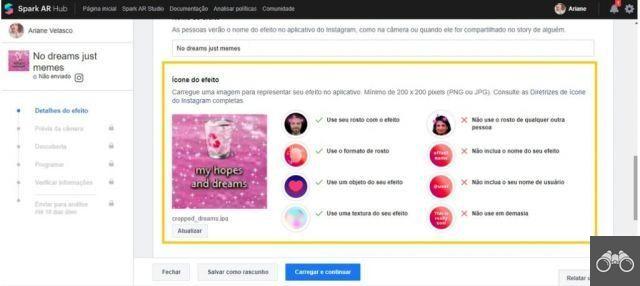
Image: Canal Tech
Step 8. If you want to see a preview of how the filter will look on Instagram, just click on the “Show on Instagram” option. You can send the filter for your friends to test. Just copy and paste his link. If everything is ok, just click on “Next Steps”, located at the bottom of the page in blue;
Step 9. Still in the Hub, choose which category your filter fits into, for example, “Funny”. By clicking on “Preview Effect” and copying and pasting the link into your smartphone's browser, you can check it out again;
Step 10. If everything is according to your wishes, click on “Next”. On the next screen that you will be forwarded to, go to the “Make active as soon as approved” option. With this, as soon as it is approved by Instagram, users will be able to use;
Step 11. Before submitting for approval, you need to talk a little about the filter and its functionality, as well as explain why it is categorized in the category you chose. You have 52 characters available for this brief explanation;
Step 12. To finalize the export, you need to submit your filter for analysis, which can take up to five business days. To do this, just click on “Send for analysis”. Based on the platform's privacy and content policies, you may be required to change some elements of the effect.
After being approved, you can access it normally by logging into your Instagram.
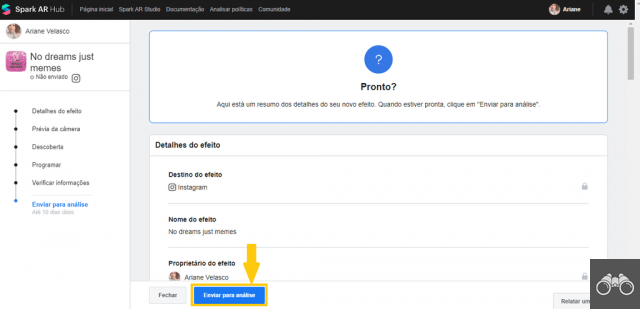
Image: Canal Tech
Learn More: Copy and Paste These 27 Poll Tips for Instagram
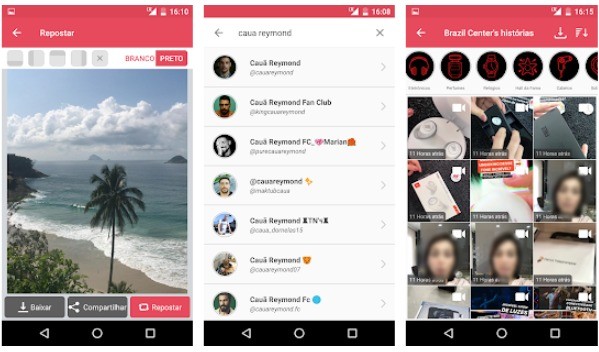
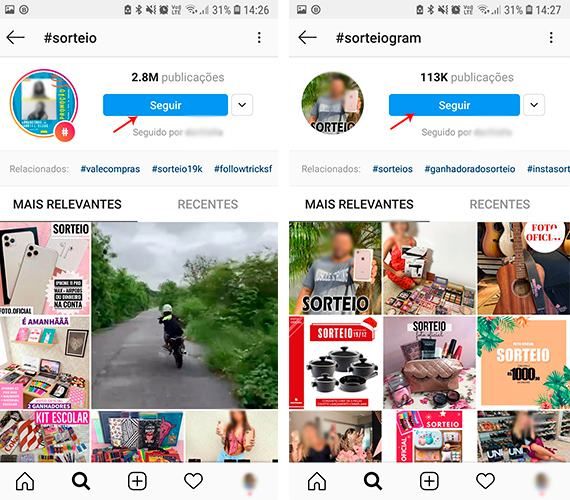
How to find ready-made filters on Instagram
You already know how to filter on Instagram and upload to the platform. But not everyone has the will to create the filters. No problem! You can find several options on the social network itself, thus saving you the work of creation. See how:
Step 1. In your Instagram Story, go to the “Add to your Story” option;
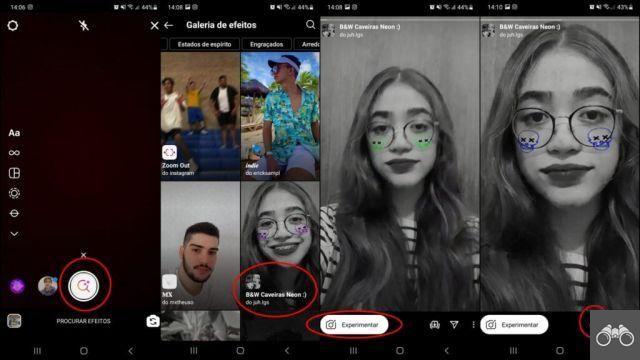
Step 2. In the filters part, slide the effects to the end and click on “Browse for effects”, represented by the magnifying glass symbol;
Step 3. An effects gallery will open. You will be able to search the filters by browsing randomly, by the most used themes and in several other ways;
Step 4. When you find one you like, just go to "Try" to check it out in detail;
Step 5. If you just want a photo or video with this effect, just do it with the “Try it out” option. But if you want to save it for more use, just click on the symbol located before the Direct sign. With that, the effect will be saved in your Instagram effects gallery;
Step 6. Effects used by your friends can also be saved. Just go to your Stories, find what they used the effect for, and right below their name will be the effect name. Click on it at the top left of the screen, and then click on “Save Effect”. With that, it will be available in your Instagram effects gallery.
Learn More: The 105 best phrases for Instagram Stories